
BACK TO lock'n'release
Appointment 1
Taking a verified impression
We can not restore a Lock'n'Release bar if the patient is wearing Multi-Unit abutments. The abutments must be removed from the patient’s mouth. This creates logistical issues for you and your patient but it is all worth it at the end.
This appointment will not be easy as you will have to remove the abutments, fulfill your responsibilities for each appointment and replace each abutment in its original position so the temporary appliance will be able to seat back onto the abutments passively and correctly.
It is required to do this to take a verified impression.
Remove the temporary from the patient mouth. Remove the plug, Teflon, and all screws. When you unscrew the prosthetic screws, they might stay in the access hole, or just come out attached to the driver. Always check the driver before putting it in the next hole. Once the temporary is removed from the patient’s mouth, give it to your assistant to have it clean thoroughly.
Check the soft tissue and abutments for redness or swelling.
Now you will have to remove the multi-unit abutments which can be tricky if you have never done it before.
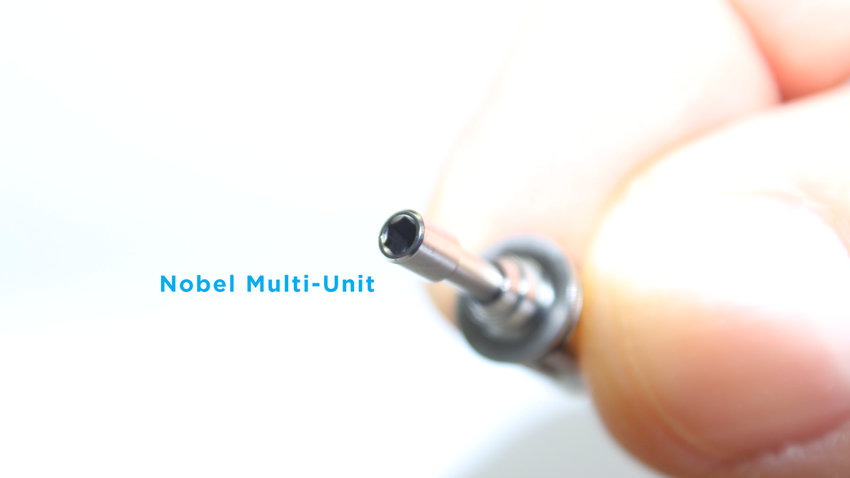
Take a second to look at our pictures and videos to familiar yourself with the task. They are several different systems in the market, but the main one are the Nobel type, Straumann type, and Smartfix type.
Nobel, Neodent, Biomet 3i, and BioHorizons concepts are similar even though they will require their own drivers. Their Straight multi-unit abutments do not have anti-rotation features at the base of the abutment and do not engage the hex of the implants. The screw is part of the abutment and you will need a different driver for it.
The Angled multi-unit abutment available in 17 and 30-degree angle, have an anti-rotation configuration to engage the hex of the implant. You will need your regular prosthetic driver.
Below is an example using Nobel parts. Make sure to use the corresponding parts to whatever system you are using. The analog below represents the implant in the patient's mouth.


Straumann concept is different as the straight and angled multi-unit abutments have an anti-rotation features at the base of the abutment and do engage the hex of the implants. The screw is separate from the abutment. You will need your regular prosthetic driver. (Show the pictures) add link to how to how to change an abutment video.
Ankylos angulated abutments do not have an anti-rotation features at the base of the abutment and do not engage the hex of the implants. Due to this reason you won’t be able to replace them in their exact position unless you are working with straight abutments only.
Astra EV
The Balance Base abutments is made from two components which are pre-mounted on a seating instrument made from peek. The main abutment is seated with your regular prosthetic driver and the small head with the multi base driver. The Straight multi-unit abutment does not have an anti-rotation features at the base of the abutment and do not engage the hex of the implants. The screw is part of the abutment and you will need a different driver for it.
The Angled Balance base abutment available in 17 and 30-degree angle, have an anti-rotation configuration to engage the hex of the implant. You will need your regular prosthetic driver.


Keep each abutment separated from each other, and make sure to keep track of their original position. Multi-unit abutments come in different angles and cuff height, so it is very important not to mix them up.
Before removing them be sure that you know the implant system you are working with and that you have all the appropriate drivers. If you are not sure, call us.
Once you are sure you can move forward, make a black line on each abutment and take a picture of it. It does not matter where you mark the abutment as long as you have a point of reference to replace it correctly in the patient’s mouth.
Now un-torque and remove the abutments from the patient’s mouth.
Clean each site thoroughly and remove any foreign materials.
Place open tray impression posts in each site and hand-torque them.
Lute each post to each other with composite and old burrs shaft. These old burrs will make a rigid bridge between each site. Once all of them are luted together, customized a tray to go over each post.
Use light body around the impression posts and burr shaft and heavy body in the tray.
Take the tray to the patient’s mouth and make sure that no impression material will cover the access holes.
Let it set and remove from the patient’s mouth by unscrewing each screw.
Replace each multi-unit abutment in the patient’s mouth in the exact position you originally found them.
Replace the temporary in the patient’s mouth and plug the access holes with Teflon and impression material or composite.
Call Allure Dental Studio for a pick-up.
Appointment 2
Jaw Relation Records and Shade Selection
Allure Dental Studio will fabricate and provide you a bite rim without any implant hardware to facilitate your appointment. You will not have to remove the abutments.
Remove the temporary from the patient mouth. Remove the plug, Teflon, and all screws. When you unscrew the prosthetic screws, they might stay in the access hole, or just come out attached to the driver. Always check the driver before putting it in the next hole. Once the temporary is removed from the patient’s mouth, give it to your assistant to have it clean thoroughly.
Check the soft tissue and abutments for redness or swelling.
With the patient sitting up, seat the bite block in the patient mouth utilizing your conventional denture technique to achieve accurate jaw relation records. Once finished remove the bite block(s) from the patient’s mouth.
Replace the temporary in the patient’s mouth. Take an impression of the opposing dentition and an impression of current denture for study model. Select the shade and mold of the denture teeth. If you are not sure, we can always utilize the patient’s existing denture as a reference for the size and shape.
Select the gingival shade and make sure to tell us which guide you are using. Upon request, we can provide you with a sample guide.
Return the case to Allure Dental Studio including the master model, bite block, bite registration, opposing impression and study model.
Appointment 3
Frame try-in with lock'n'release bar, abutments, and teeth
Remove the temporary from the patient mouth. Remove the plug, Teflon, and all screws. When you unscrew the prosthetic screws, they might stay in the access hole, or just come out attached to the driver. Always check the driver before putting it in the next hole. Once the temporary is removed from the patient’s mouth, give it to your assistant to have it clean thoroughly.
Check the soft tissue and abutment for redness or swelling.
Remove the multi-unit abutments from the patient’s mouth following the steps from appointment 1
Clean each site thoroughly and remove any foreign materials.
Now you are ready to try the Lock'n'Release abutments in the patient’s mouth.
Remove from the model one abutment at a time. The Lock'n'Release abutment comes in two pieces. First unscrew the top part and put it aside.
With a Sharpie, make a black mark on the abutment as a point of reference and place it in the patient’s mouth with the black line positioned exactly as it was on the model. Do this for each abutment.
Try-in the setup in the patient mouth. All our frames are ionized pink to blend better in the acrylic.
Group function is preferred with a light occlusion on the anterior.
Evaluate the VDO.
Check for fit, form, function, shade, phonetics, and midline. Make any final adjustments if needed.
Take pictures.
Once you are done with all these steps, remove bar and teeth from the patient’s mouth and each abutment. Place the abutments back on the model with the line facing each other.
Pictures
Replace the multi-unit abutment and temporary in the patient’s mouth and hand torque the screws to manufacturer recommendation.
Place Teflon tape or floss in access hole and cover them with light body. At this point you are done with appointment 3.
Call Allure Dental Studio for a pick-up. Return all components, models, impressions, and our Sequential Prescription™ filled out correctly.
Appointment 4
Final delivery
Remove the temporary from the patient mouth. Remove the plug, Teflon, and all screws. When you unscrew the prosthetic screws, they might stay in the access hole, or just come out attached to the driver. Always check the driver before putting it in the next hole. Once the temporary is removed from the patient’s mouth, give it to your assistant to have it clean thoroughly.
Check the soft tissue and abutment for redness or swelling.
Remove the multi-unit abutments from the patient’s mouth following the steps from appointment 1
Clean each site thoroughly and remove any foreign materials
Now you are ready to seat the Lock'n'Release abutments permanently in the patient’s mouth
Remove from the model one abutment at a time. The Lock'n'Release abutment comes in two pieces. First unscrew the top part and put it aside.
With a Sharpie, make a black mark on the abutment as a point of reference and place it in the patient’s mouth with the black line positioned exactly as it was on the model. Do this for each abutment.
Torque them in following manufacturer recommendation.
Seat the bar over the abutments
Evaluate the retentions, the bite, the VDO and make any final minor adjustments if needed.
You can change the retentions to extra soft, soft, or strong
Have the patient practice the path of insertion with and without you. Make sure they do not go home until they are comfortable with the process.
Take pictures for your own portfolio.
Take a panoramic X-Ray to verify that everything seats well and passively.
Congratulation you are finished.
Make sure to provide your patient with the proper tools to maintain a healthy appliance. Allure Dental Studio partnered with TePe to create a Post-Op Care Kit to meet your patient's needs.