
Back to Restorative Appointments
You will need seven appointments to restore your patient. The final prosthesis will be delivered to you.
RX: Seven Step Sequential Prescription
After reading the information below, feel free to follow up with us on any questions you may still have regarding this restoration.
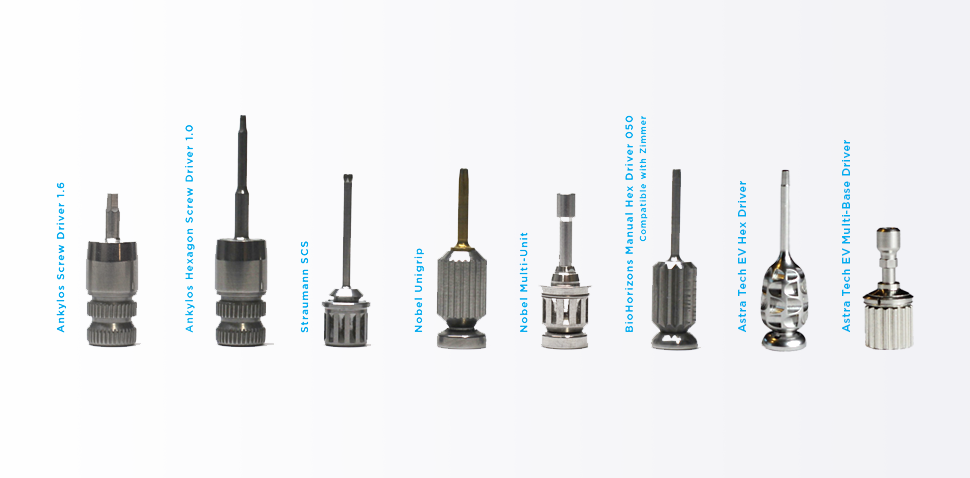
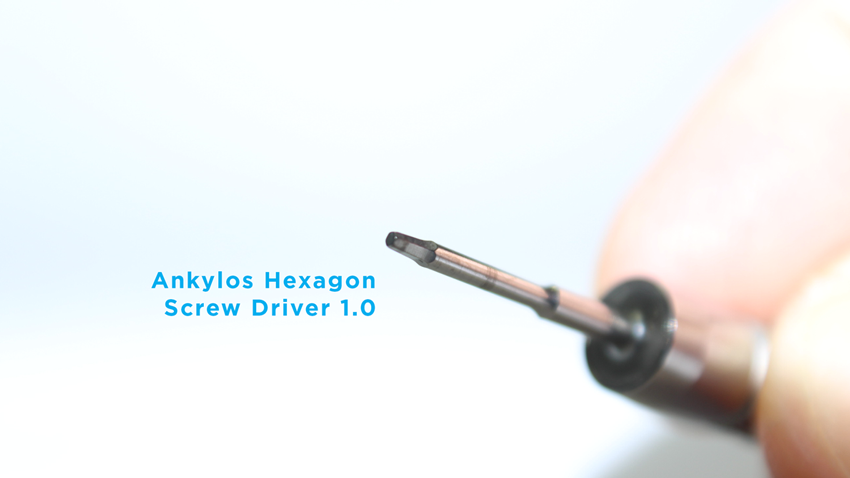
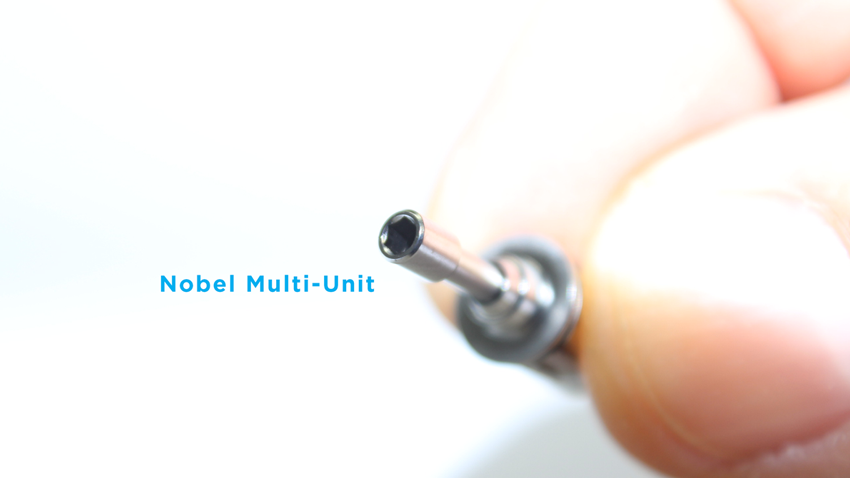
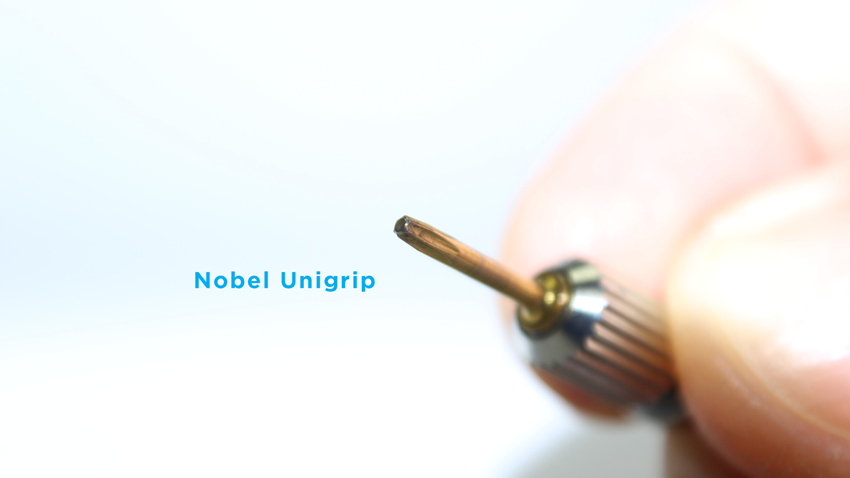
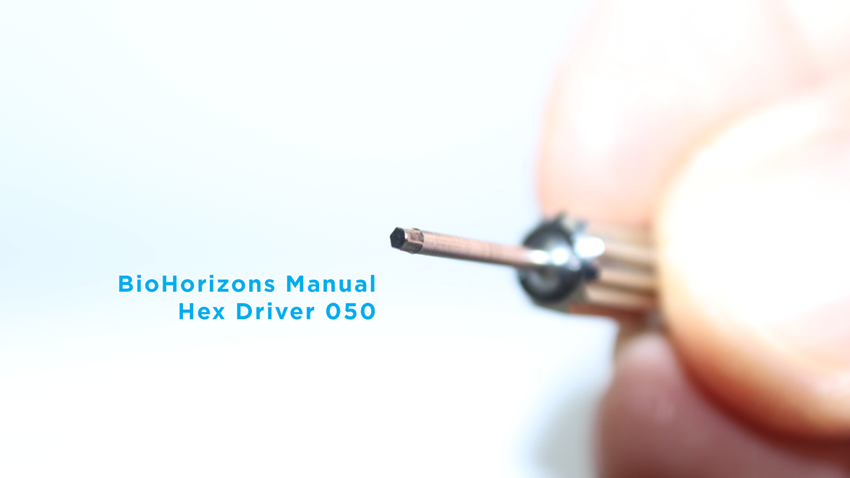
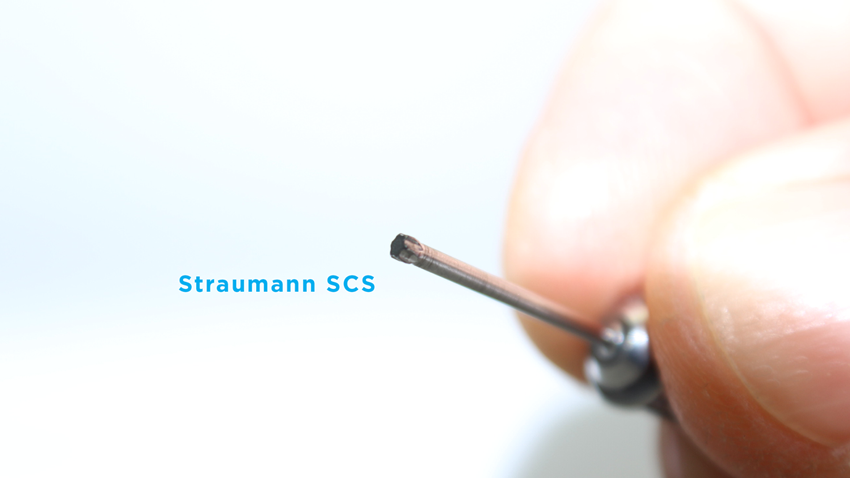
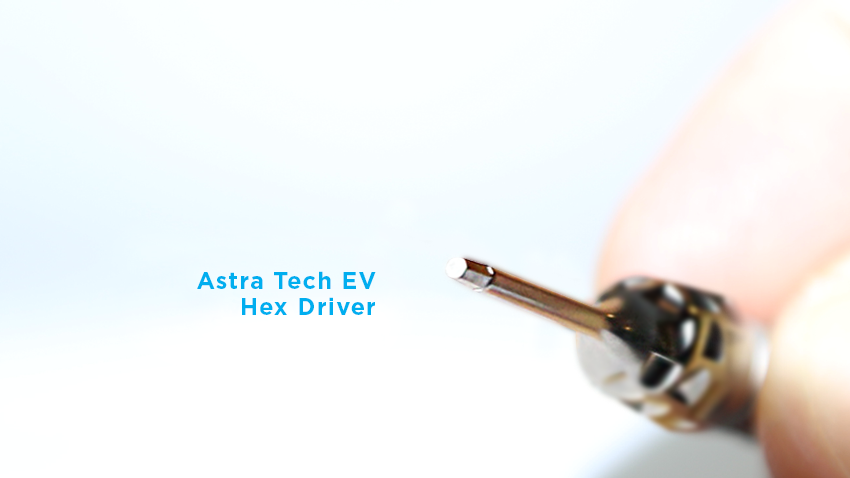
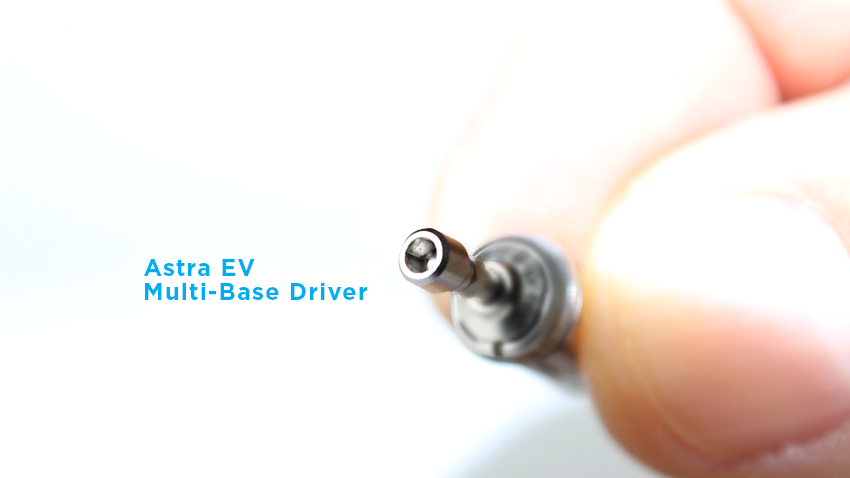
You must make sure you are using the right driver from the correct manufacturer.

Appointment 1
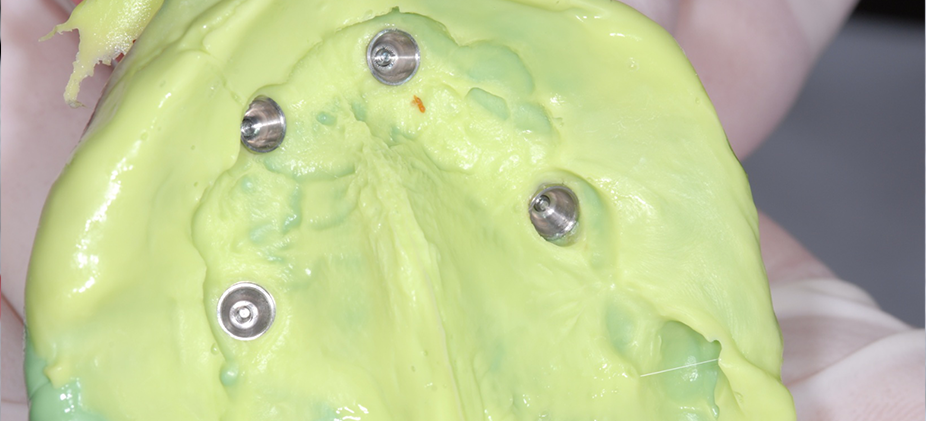
Taking an impression at the implant level: include the vestibules and/or palate
Establish which implant system you are going to be working with prior to ordering healing abutments and impression copings.
If the patient has the implants buried with cover screws, you will need to uncover them and let the patient heal for a few weeks prior to take an open tray impression.
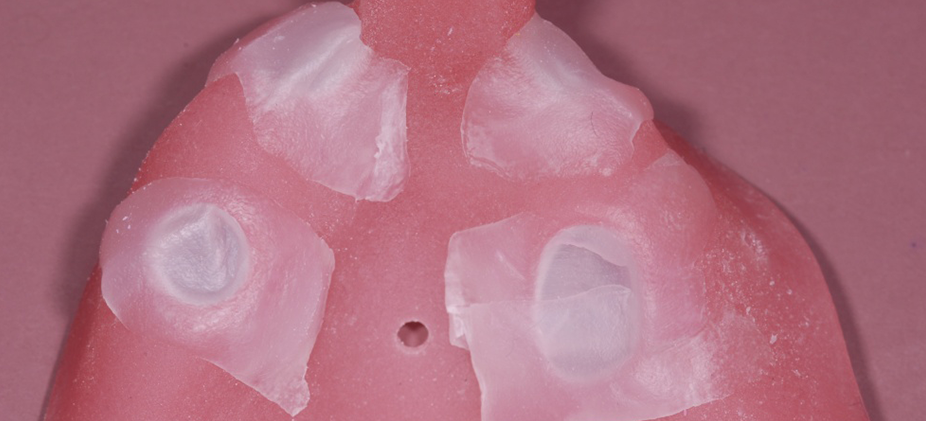
You will have to create space in the denture for it to seat passively over the healing posts.
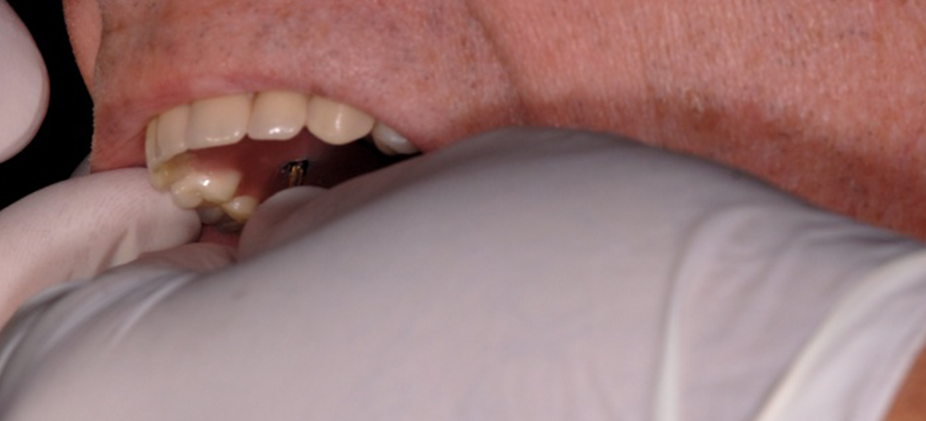
Once the patient’s tissue has healed enough and the swelling has receded completely, remove all the healing abutments from the patient’s mouth.
Have your assistant keep them organized, so they will be easily repositioned in their original location.
Place your open tray impression post onto each implant site by following the implant manufacturer protocol. You will not need to link the impression posts together at this time as we have not established the angulation of the multi-unit abutments necessary to restore your case. These cases often require multi-unit abutments to correct positioning of the screw access holes. Although they may add to the cost, we highly recommend that you use multi-unit abutments or some type of customized abutments due to and not limited to the following:
Hygiene can be a serious issue if the tissue is too thick. Every time you remove the appliance foreign objects could find their way down the sulcus, which could lead to bad odors and/or infections and eventually peri-implant mucositis (presence of inflammation in the soft tissue surrounding a dental implant without signs of any loss of supporting bone) and/or Peri-implantitis (destructive inflammatory process affecting the soft and hard tissues surrounding dental implants)
Every time you torque and un-torque a screw directly into the implant you are creating fatigue of the implant threads, which could lead to screw loosening and/or micro movement which also could lead to implant related diseases.
Your restorative steps will be easier, faster, and will not require any anesthesia, which will save you chair time and provide your patient a better overall experience.
The fit of your final appliance should be more passive as you will not have to deal with divergence. Implant bridges require extreme passive fit to protect from stress to the implant and screw breakage.
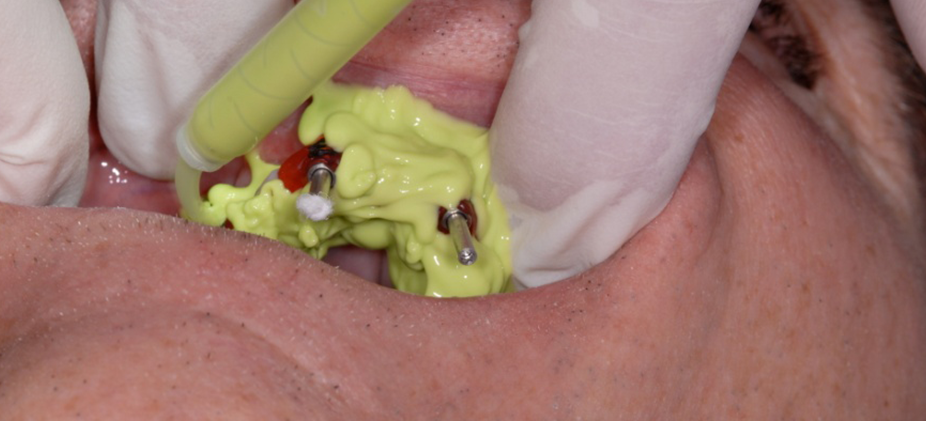
Once all the impression posts are placed and torqued over the implants, customize your impression tray. (It is possible for you to get a custom tray from our Allure Dental Studio ahead of this step. If that is what you prefer, take an Alginate impression of the healing abutments and send it to us. We will make you a lab fabricated custom tray which will facilitate the impression step.)
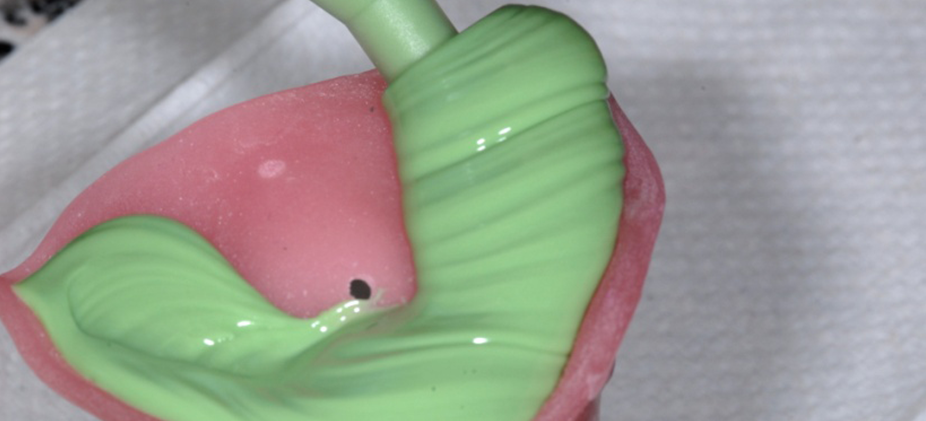
Use light body over the abutments and heavy body in the tray. Follow manufacturer technique.
Once the material is completely set, unscrew each impression post making sure that each long screw is completely disconnected from the implant. You may want to pull them out of the impression to make sure that they are no longer engaged.
Remove the impression from the patient’s mouth and quality control it
Place each healing abutment over its corresponding implant.
Fill out our trademarked sequential Rx
Call Allure Dental Studio for a pick-up
Appointment 2
Allure Dental Studio will provide you with a wax rim with two cylinders.
Time in Lab: 3 days
Doctor’s Responsibilities:
You will provide us with a bite record from the provided bite rim.
An impression of the opposite arch if you are only working on a single arch.
Impression of the patient’s denture (let us know if you want us to match the esthetics or improve upon it).
Shade and mould of the teeth.
Shade of the gum (if you do not have gingiva shade guide, take pictures. you can also buy one from our lab).
Note:
This Second Appointment helps us determined the final restorative option best serving your patient.
Allure Dental Studio may determine that multi-unit abutments are required to correct implant angulation (Extra charge based on manufacturer), accommodate screw access holes that are too far to the facial, or connect the prosthesis to implants that are more than 2 mm subgingival.
Allure Dental Studio will also evaluate the vertical space available and suggest the adequate restoration options. (Cost may vary).
Based on the outcome, Allure Dental Studio will contact you to discuss treatment options and pricing.
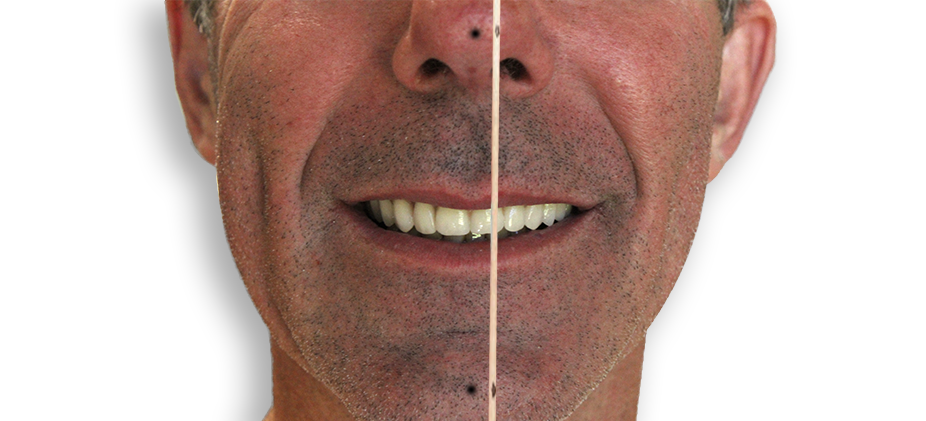
While the existing denture(s) is in the mouth, place a pen dot on the tip of the nose and chin of the patient. Add or subtract to this measurement if necessary if you like to open or close the bite.
Remove the healing abutments from the patient’s mouth and have your assistant keep them in order, this way it will be easier to replace them in the same position.
Place the upper occlusal rim onto the two implants and hand torque the screws.
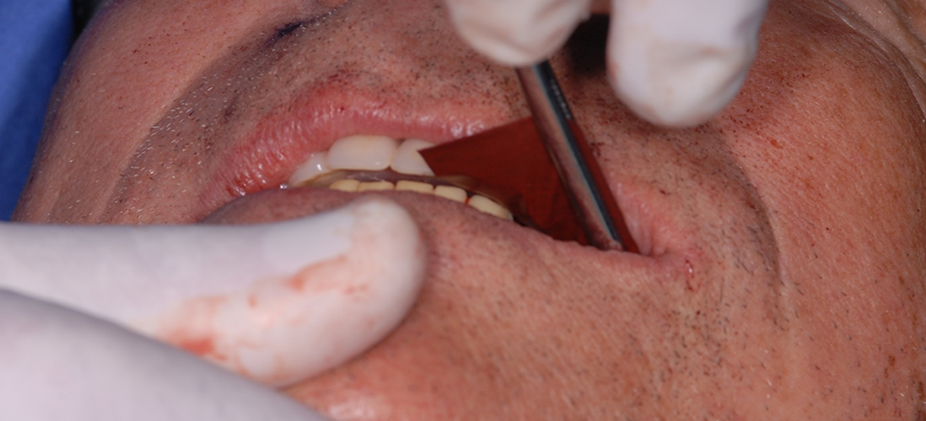
Check for proper lip support and incisal length. You may use a Fox Plane to ensure a correct interpapillary line and the Campers Plane. Both bite rims must be flat against each other.
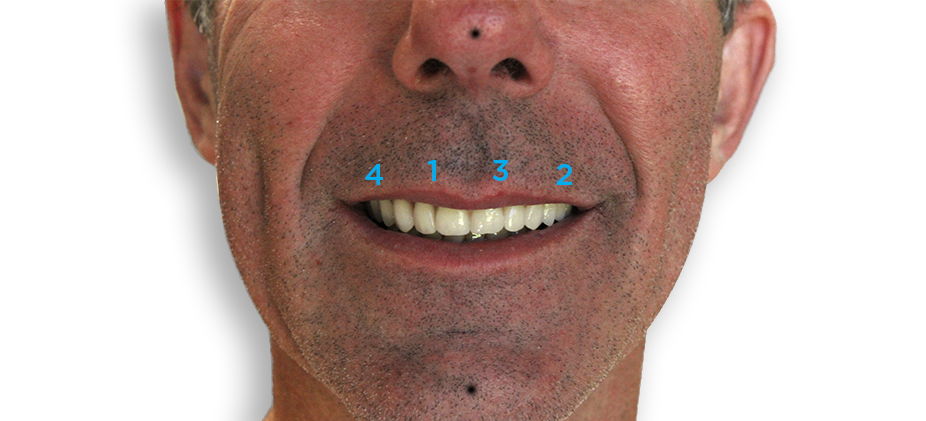
While the patient is smiling, mark the midline and the high lip line (smile line).
When the patient’s mouth is at rest, mark the corners of the mouth to assist in the placement of the maxillary cuspids. Insert the mandibular bite rim (if applicable) to help support the cheeks and lips while evaluating the maxillary occlusal wax rim.
Go through the Phonetic evaluation of the fricative and sibilant sounds ("F" and "V" sounds).
The patient should be able to make a clear f and v sounds with the maxillary incisal edges against the lower lip ("S" and "Z" sounds).
The anterior and posterior teeth should not touch and there should be no hissing or air loss.
Evaluate the freeway space.
Once satisfied with the CO and the VDO, remove the bite rim(s).
Place keyways in the second bicuspid or first molar region bilaterally in both the maxillary and mandibular occlusal rims.
Return the occlusal rims to the patient’s mouth.
Syringe a fast-setting VPS bite registration material in a continuous line starting distal of the keyway to the distal of the opposite keyway.
Ask the patient to close and hold for the recommended set time.
Check the vertical dimension once again and be sure it is at the desired measurement.
Remove bite rim(s) from the patient’s mouth.
Take an impression of the opposite arch and the existing denture.
Provide us the shade and mould of the denture teeth.
Provide us with the shade of the patient’s gum.
Appointment 3
Allure Dental Studio will provide you with a set-up with two cylinders
Time in Lab: 5 days
Doctor’s Responsibilities:
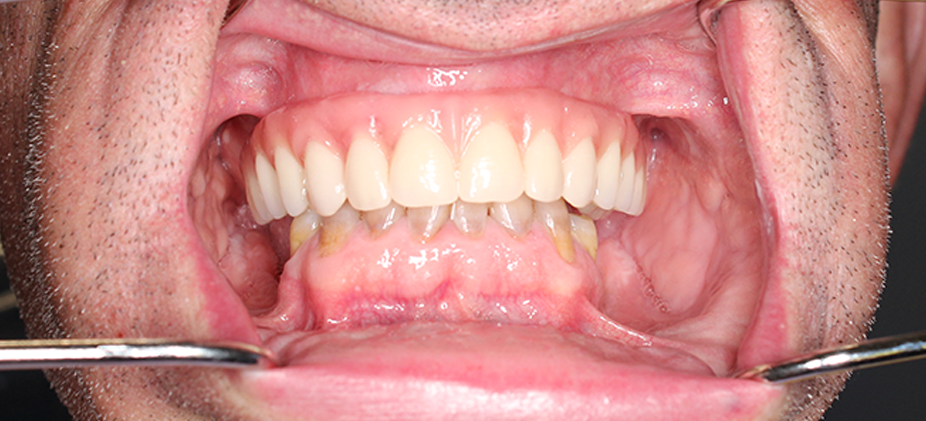
Try-in, evaluate, and make any necessary changes with wax set-up.
While the existing denture(s) is in the mouth, place a pen dot on the tip of the nose and chin of the patient. Add or subtract to this measurement if necessary if you like to open or close the bite.
Remove the healing abutments from the patient’s mouth and have your assistant keep them in order, this way it will be easier to replace them in the same position.
Evaluate the VDO.
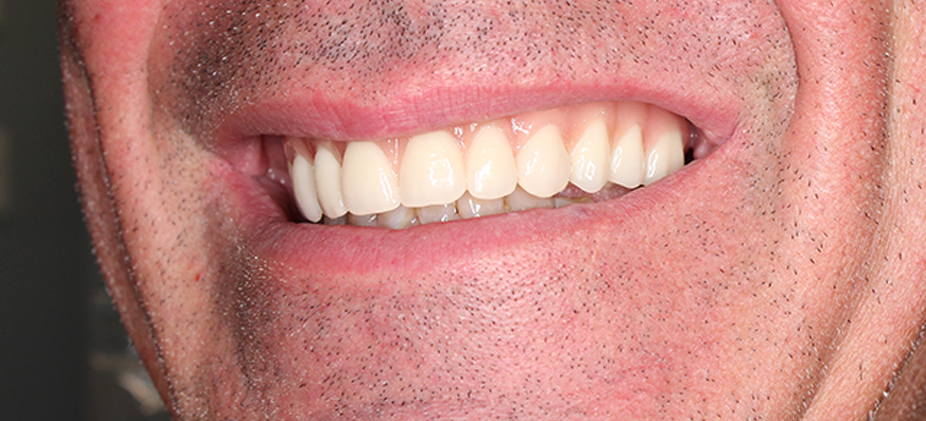
Check for fit, form, function, shade, phonetics, and esthetics. Make any final adjustments if needed. Group function is preferred with a light occlusion on the anterior.
Take pictures.
Call Allure Dental Studio for a pick-up. Return all components, models, impressions, and our Sequential Prescription™ filled out completely.
Appointment 4
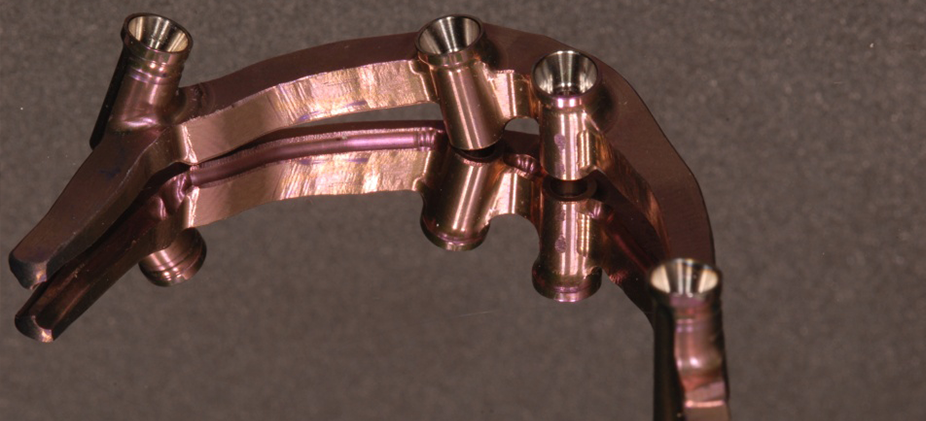
Multi-unit abutment placement, Verification jig and Bite rim
Allure Dental Studio will provide you with multi-unit abutments, verification jig, custom tray, and a bite rim with cylinders at the MU abutment level.
Time in Lab: 7 days
Doctor’s Responsibilities:
Place Multi unit abutments, take impression, take bite at MU abutment level.
Multi-unit abutments, protection caps, custom tray and a verification jig (VJ) will be provided to you to ensure an accurate and passive fit of your restoration.
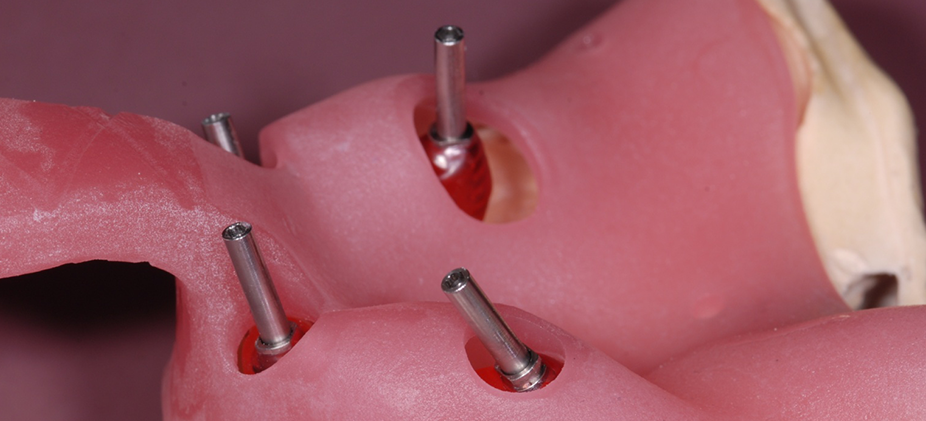
If multi-unit abutments are supplied by Allure Dental Studio (extra cost), place them in the same position provided on the model. Make sure to disinfect them prior to placing them in patient’s mouth. Never take them directly from the model to mouth.
Note: Most companies provide hexed multi-unit abutments. If the abutment is non-hexed such as Smart fix from Ankylos Dentsply, place a black mark on the buccal area of the abutment and the model to record its original position.
Estimate the same position in the mouth and place the abutment onto the implant. Hand torque the abutment and verify the position. Once satisfied, torque to manufacturer specifications.
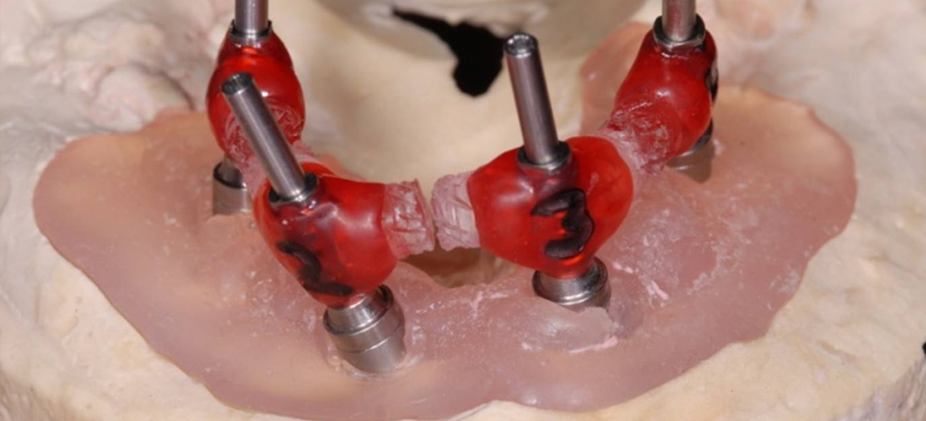
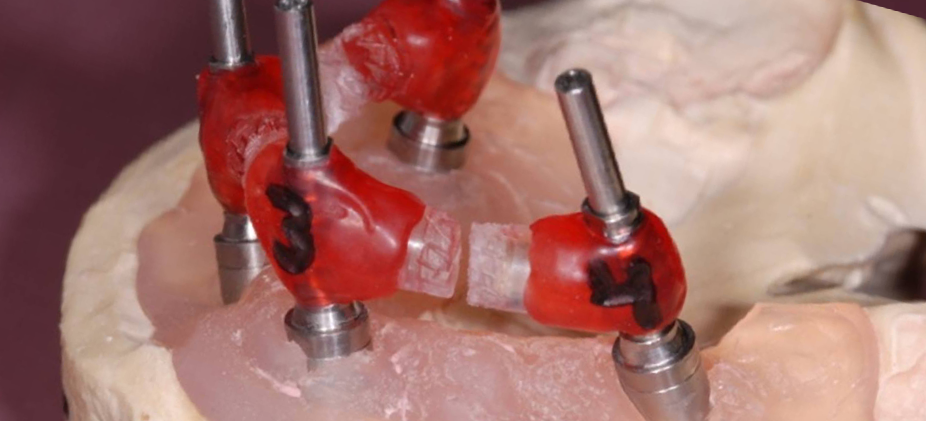
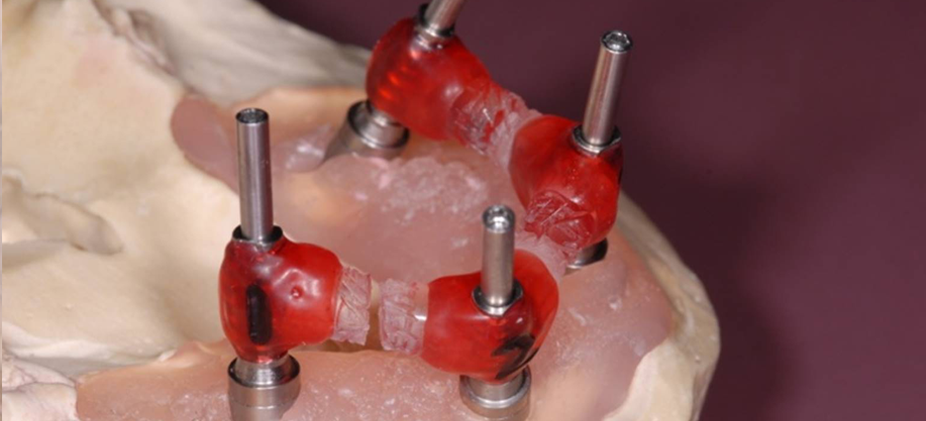
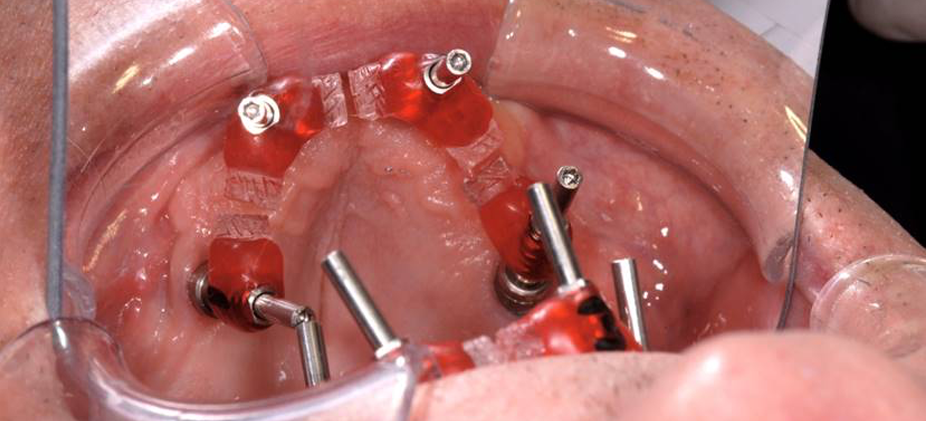
Once all MU abutments are torqued in, seat each section of the jig onto the appropriate multi-unit abutment and tighten the provided guide pin (long screw).
Some manufacturers do not carry long screws, which can make things very complicated.
To remedy this problem, we will provide you with small plastic or wooden straws to extend the extremities of each cylinder. This will make the process much easier and shorten the appointment time.
The sections must not be in contact with each other, or the fit will be incorrect.
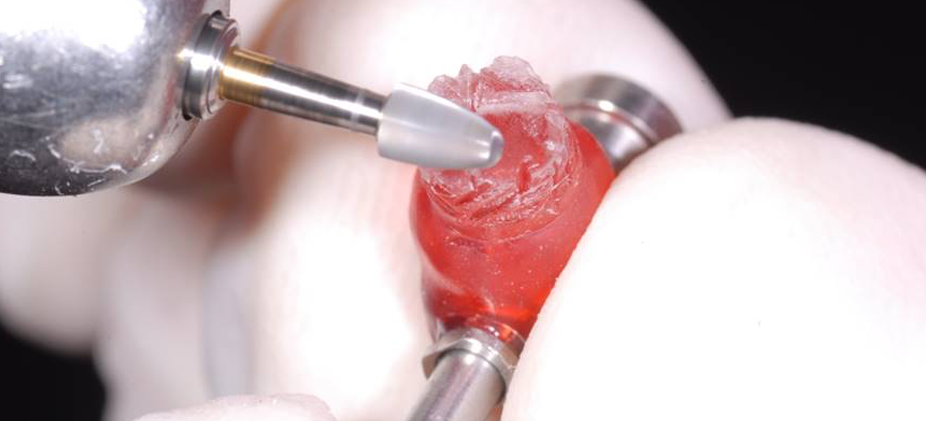
If needed, remove one section, minimally trim it, and re-seat it. Each section should have a gap about the thickness of a credit card. Visually verify that the space between each section is adequate before lutting.
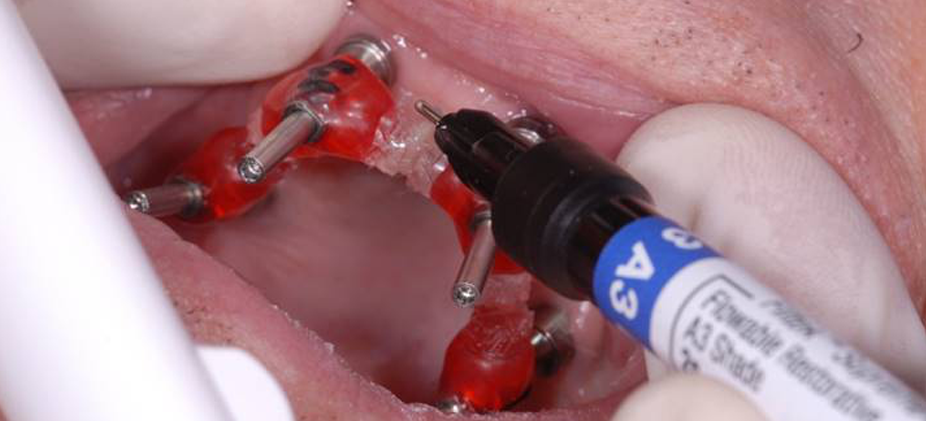
Lute each section together with a suitable material. You may use composite as you are used to working with it daily, but you can also use products such as and not limited to:
Triad® DuaLine® DENTSPLY
Pattern Resin™ GC America
Zapit® Dental Ventures of America
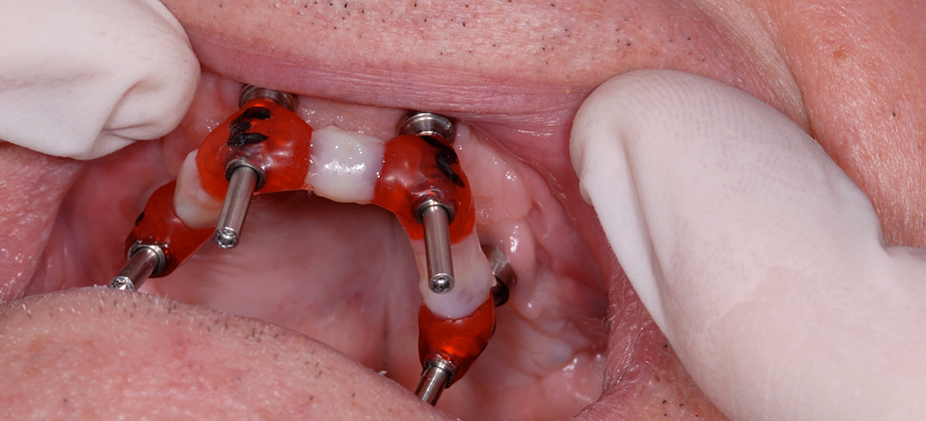
Allow the material to flow through and completely around the gaps. Reinforce the verification jig with excess material by extending it all around the jig. You must have a strong verification jig prior to taking the master impression.
Final Open Tray Impression
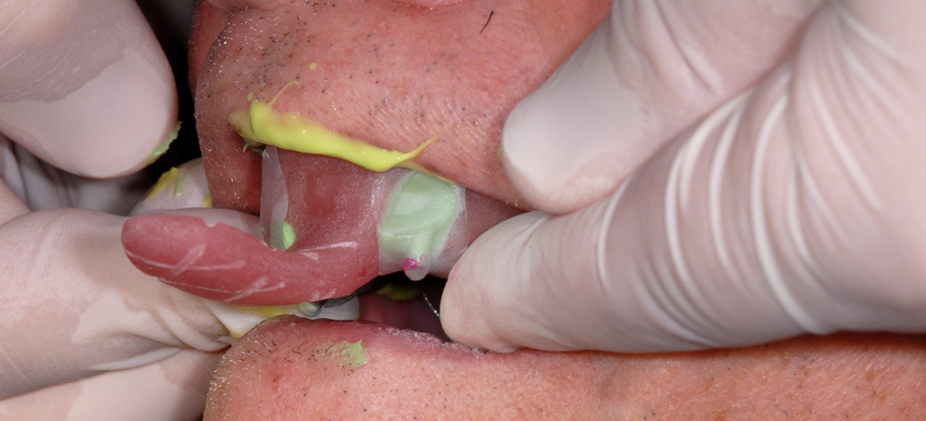
Practice your path of insertion with the provided custom tray, making sure that no part of the jig contacts the tray. Do it a few times to make sure that you find the correct path before the impression material is added to the tray.
Block each hole on the custom tray with utility wax for better control of the impression material.
Inject light VPS impression material over, under and around the jig to capture all anatomical landmarks, including full vestibular extensions and the complete palate for maxillary cases. Use medium or heavy body impression material in the tray, but do not over fill the tray. Fill the tray 2/3 of its full capacity as you need to leave room for the thickness of the jig.
Seat the filled impression tray, ensuring the heads of the guide pins are exposed through the tray. This is a must, or you will struggle removing the impression tray from the patient’s mouth.
Once the material has set, unscrew guide pins and then remove the impression. Note: the verification jig is picked up in the impression.
Inspect the impression for accuracy.
The multi-unit abutments will now stay in place.
You will have to relieve the denture to allow it to seat in the patient’s mouth. You may have to make holes in the denture to achieve this.
Cover the MU abutments with the provided protective caps and hand-tighten them.
Send the entire case back to Allure Dental Studio.

Appointment 5
Allure Dental Studio will provide you with a setup attached to cylinders
Time in Lab: 5 days
Doctor’s Responsibilities:
Try-in, evaluate, and make any necessary changes with wax set-up.
While the existing denture(s) is in the mouth, place a pen dot on the tip of the nose and chin of the patient. Record the measurement between the two dotes.
Remove the protecting caps from the patient’s mouth.
Place the try-in in the mouth and screw each cylinder onto the multi-unit abutment.
Evaluate the VDO.
Check for fit, form, function, shade, phonetics, and esthetics. Make any final adjustments if needed. Group function is preferred with a light occlusion on the anterior.
Remove the setup from the patient’s mouth.
Replace the protective caps.
Take pictures.
Call Allure Dental Studio for a pick-up. Return all components, models, impressions, and our Sequential Prescription™ filled out completely.
Appointment 6
Bar try-in with teeth over multi-unit abutments
Allure Dental Studio will provide you with a set-up with two cylinders
Time in Lab: 15 days
Doctor’s Responsibilities:
Evaluate passive fit of bar, evaluate final teeth placement.
While the existing denture(s) is in the mouth, place a pen dot on the tip of the nose and chin of the patient. Record the measurement between the 2 dotes.
Remove the protecting caps from the patient’s mouth.
Place the try-in in the mouth and hand torque each screw onto the multi-unit abutment.
Evaluate the VDO.
Check for a passive fit of the bar, phonetics, and overall esthetics. Group function is preferred with a light occlusion on the anterior.
Remove the setup from the patient’s mouth.
Replace the protective caps.
Take pictures.
Call Allure Dental Studio for a pick-up. Return all components, models, impressions, and our Sequential Prescription™ filled out completely.
Evaluate fit, form, function

appointment 7
final delivery
Allure Dental Studio will provide you with the final restoration and virgin screws
Time in Lab: 7 days
Doctor’s Responsibilities:
Deliver the final restoration and check for occlusion
While the existing denture(s) is in the mouth, place a pen dot on the tip of the nose and chin of the patient. Record the measurement between the 2 dotes.
Remove the protecting cap from the patient’s mouth
Place the final restoration in the patient’s mouth and check for passive and accurate fit. Make sure that you did not infringe on any soft tissue.
Start placing a screw in each hole. Do not torque the screws all the way until the last screwed is placed. To unsure a successful seating of the appliance, screw the prosthetic screw in all the way and then back it out 30%. By doing this, you will allow the appliance to be seated with a passive fit. Once all the screws are in, torque them to manufacturer specifications.
Fill all access holes with Teflon tape, then acrylic or composite and finish by polishing.
Evaluate the bite, the VDO and make any final minor adjustments if needed.
Take pictures for your own portfolio.
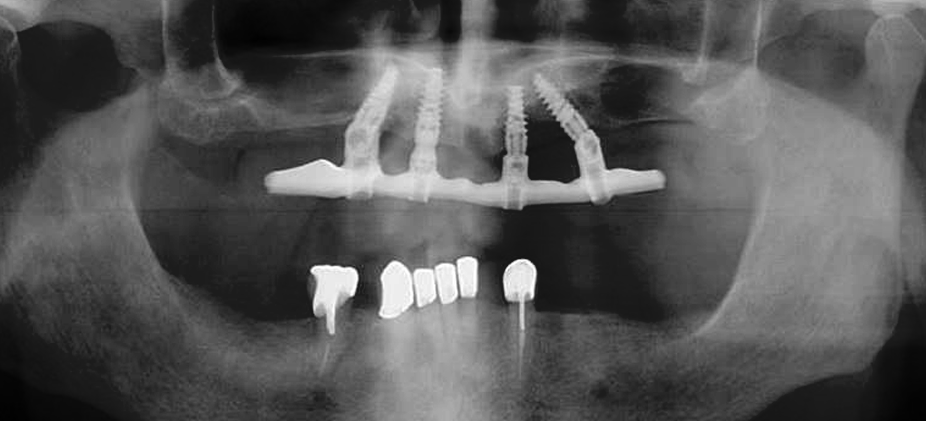
Take a panoramic X-Ray to verify that everything seats well and passively.
Congratulations, you are finished.
Make sure to provide your patient with the proper tools to maintain a healthy appliance. Allure Dental Studio partnered with TePe to create a Post-Op Care Kit to meet your patient's needs.